
シリーズ一覧
- Angularによるwebアプリ開発①~環境構築とコンポーネント作成
- AngularによるWebアプリ開発②~Angular Materialでマテリアルデザインを実装する
- AngularによるWebアプリ開発③~ngIfを使いこなす
- AngularによるWebアプリ開発⑦~ngx-chartsで折れ線グラフをプロットする
【作業環境】
- windows10
- Angular8.23
Angular Materialによるテーブル作成
# サンプル用コンポーネントを作成
$ ng generate component
<app.module.ts>
~~~~
import { MatTableModule } from "@angular/material"; //これを追加

@NgModule({
  declarations: [
    AppComponent,
    ~~~~
    NgtableSampleComponent, //
  ],
  imports: [
    BrowserModule,
    AppRoutingModule,
    BrowserAnimationsModule,
    ~~~~
    MatTableModule, // これを追加!
  ],
  providers: [],
  bootstrap: [AppComponent],
})
export class AppModule {}
<app.routing.module.ts>
import { NgModule } from "@angular/core";
import { Routes, RouterModule } from "@angular/router";
~~~~
import { NgtableSampleComponent } from "./ngtable-sample/ngtable-sample.component"; //これを追加!


const routes: Routes = [
  ~~~~
  { path:'mattable-sample', component:NgtableSampleComponent} //これを追加!
];

@NgModule({
  imports: [RouterModule.forRoot(routes)],
  exports: [RouterModule],
})
export class AppRoutingModule {}
mat-tableの作成
これでコンポーネントとモジュールの読み込みは完了したので、テーブルを作っていきます。
<ngtable-sample.component.ts>
import { Component, OnInit } from "@angular/core";

export interface PeriodicElement {
  name: string;
  position: number;
  weight: number;
  symbol: string;
}

@Component({
  selector: "app-ngtable-sample",
  templateUrl: "./ngtable-sample.component.html",
  styleUrls: ["./ngtable-sample.component.css"],
})
export class NgtableSampleComponent implements OnInit {
  ELEMENT_DATA: PeriodicElement[] = [
    { position: 1, name: "Hydrogen", weight: 1.0079, symbol: "H" },
    { position: 2, name: "Helium", weight: 4.0026, symbol: "He" },
    { position: 3, name: "Lithium", weight: 6.941, symbol: "Li" },
    { position: 4, name: "Beryllium", weight: 9.0122, symbol: "Be" },
    { position: 5, name: "Boron", weight: 10.811, symbol: "B" },
    { position: 6, name: "Carbon", weight: 12.0107, symbol: "C" },
    { position: 7, name: "Nitrogen", weight: 14.0067, symbol: "N" },
    { position: 8, name: "Oxygen", weight: 15.9994, symbol: "O" },
    { position: 9, name: "Fluorine", weight: 18.9984, symbol: "F" },
    { position: 10, name: "Neon", weight: 20.1797, symbol: "Ne" },
  ];

  constructor() {}

  ngOnInit() {}

  displayedColumns: string[] = ["position", "name", "weight", "symbol"];
  dataSource = this.ELEMENT_DATA;
}
<ngtable-sample.component.html>
<table mat-table [dataSource]="dataSource" class="mat-elevation-z8">

<!-- Position Column -->
<ng-container matColumnDef="position">
<th mat-header-cell *matHeaderCellDef> No. </th>
<td mat-cell *matCellDef="let element"> {{element.position}} </td>
</ng-container>

<!-- Name Column -->
<ng-container matColumnDef="name">
<th mat-header-cell *matHeaderCellDef> Name </th>
<td mat-cell *matCellDef="let element"> {{element.name}} </td>
</ng-container>

<!-- Weight Column -->
<ng-container matColumnDef="weight">
<th mat-header-cell *matHeaderCellDef> Weight </th>
<td mat-cell *matCellDef="let element"> {{element.weight}} </td>
</ng-container>

<!-- Symbol Column -->
<ng-container matColumnDef="symbol">
<th mat-header-cell *matHeaderCellDef> Symbol </th>
<td mat-cell *matCellDef="let element"> {{element.symbol}} </td>
</ng-container>

<tr mat-header-row *matHeaderRowDef="displayedColumns"></tr>
<tr mat-row *matRowDef="let row; columns: displayedColumns;"></tr>
</table>
<ngtable-sample.component.css>
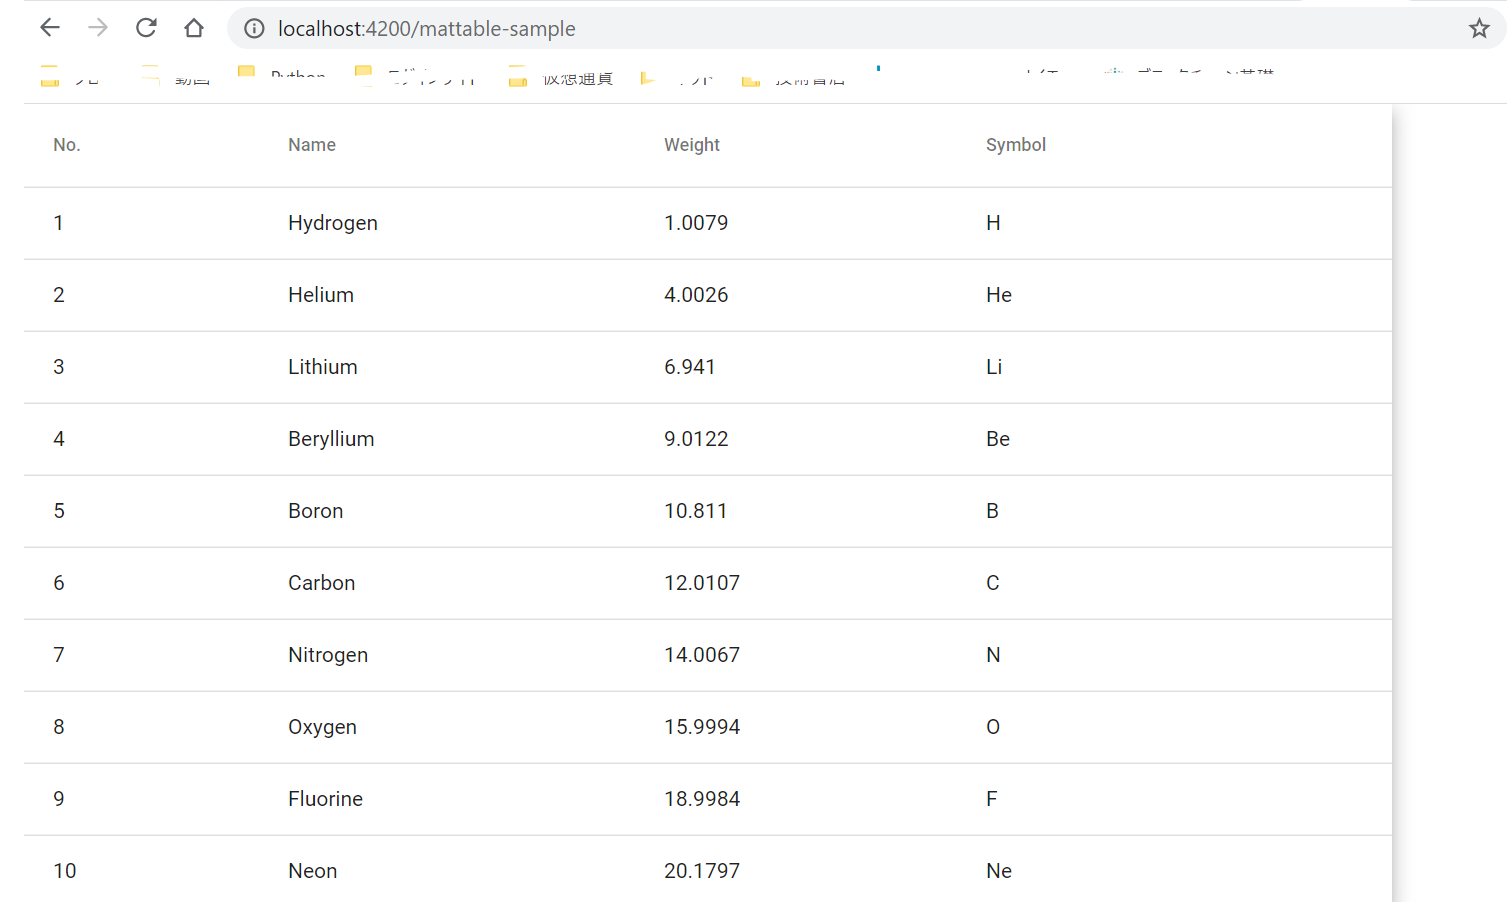
コードを見れば分かりますが、tsファイルでテーブルに表示させるデータの中身と列名(displaycolumn)を定義してhtml側でそれを表示させるという感じになっています。
そして、http://localhost:4200/mattable-sampleにアクセスすると以下のような画面になっています。
終わり
Angularのテーブルはちょっと扱いずらいし、別にそこまでモダンって感じでもないので使わなくてもいいような気がする。
縦線が入ってないのも気になるし、ヘッダーが複数行の場合なんかもちょっと手間がかかる。この辺りのmat-tableのカスタマイズの知見については別の記事で解説しているのでそちらを参考にしてほしい。
関連記事:
参照:https://material.angular.io/components/table/overview


コメント
[…] 前回の記事でAngular-materialによるmat-tableの作り方については解説しましたが、実際の業務ではヘッダーが複数行あったり、編集ボタンでテーブルの中身が書き替えられるみたいな機能の実 […]